ver 3.0 New Features
Documentation
Documentation
Common Properties
This section describes the common properties in the item inspector.Visible / Invisible
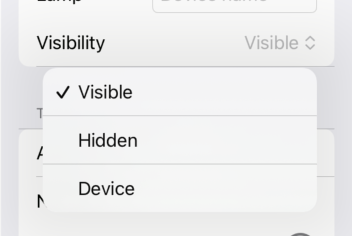
You can set it to show or hide items in Visibility.
- Visibility
- Show item
- Hidden
- Hide item
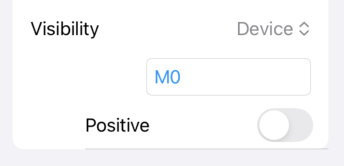
- Device
- Shows or hides based on the specified device's status.
- If the logic is positive, it is displayed when the device is on.
- If the logic is negative, it is displayed when the device is off.
Title
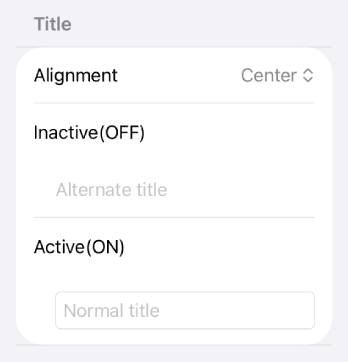
Configure the text displayed on the item.-
Alignment
Select the text alignment. - Top Leading
- Top
- Top Trailing
- Leading
- Center
- Trailing
- Bottom Leading
- Bottom
- Bottom Trailing
-
Active (ON) - Normal Title
Enter the text to display on the item. -
Inactive (OFF) - Alternate Title
For items with a lamp device (such as buttons), you can set an alternate title that is displayed when the lamp is OFF (Inactive).
Font
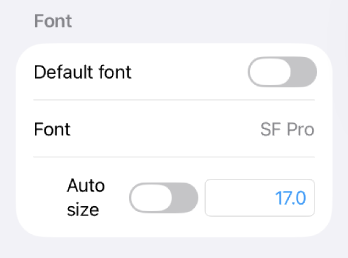
Configure the font used for text display on the item.-
Default Font
When turned on, the project's default font is used. Turn off to specify a custom font for this item. -
Font
Displayed when Default Font is off. Specify the font name and size. -
Auto Size
When turned on, the font size is automatically adjusted to fit the item.
Style
The style allows you to specify the item's background display.-
Shape
Select the shape of the background. - Rectangle
- Round Rectangle
- Circle
- Capsule
- Ellipse
-
Line Width
Specifies the width of the border. -
Padding
Specify the margins between the background and the item. -
Corner Radius
Specifies the roundness of corners for the Rounded Rectangle. -
Lien Color
Specifies the color of the border. -
Background Color
Specifies the color of the background. -
Image
Specify a background image. See Image Selection for details.
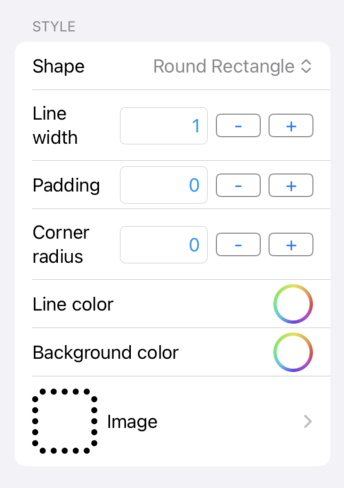
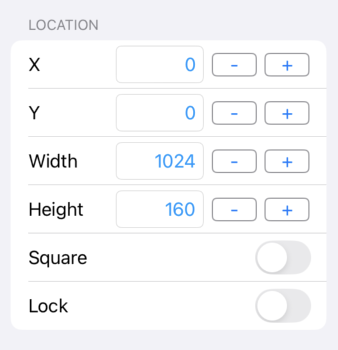
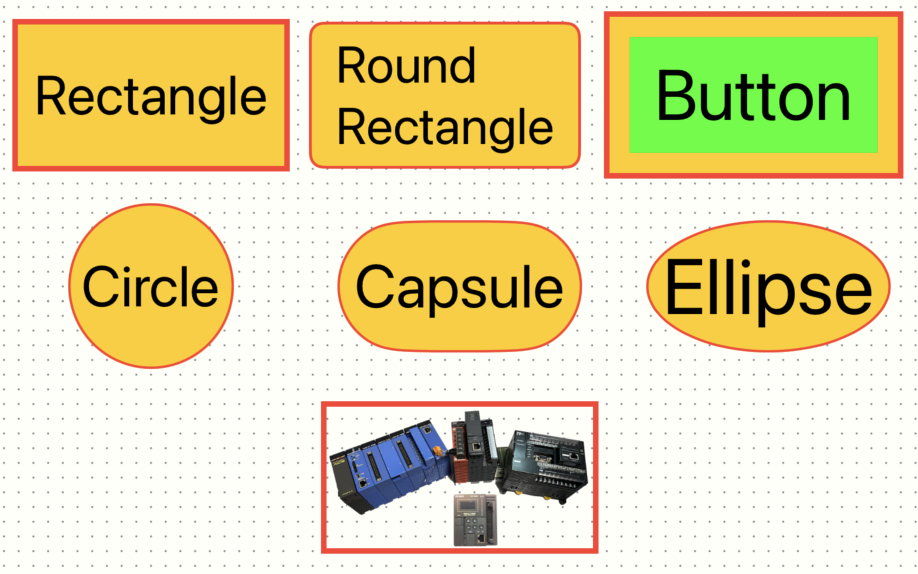
Image Selection
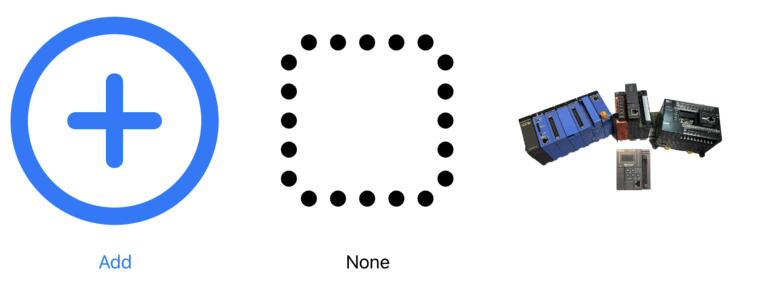
When selecting an image, an image list screen will appear. Previously selected images are displayed in a list. Tap an image to select it.
-
To select an image from the library, press the Add (+) button.
(*) However, in the current version, HEIC files are not applied even if they have been selected. - If you do not want to use an image, select "None" (dotted square).
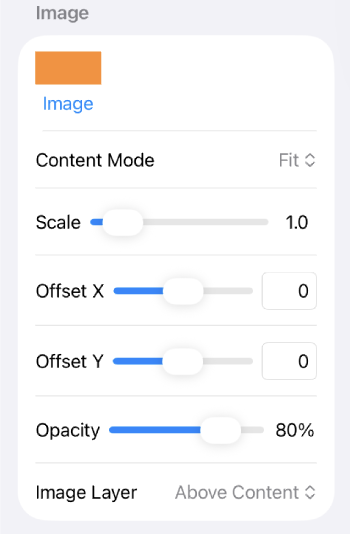
When an image is selected, the following detailed settings are displayed.
-
Content Mode
Select how the image is displayed. - Fit — Maintains the image's aspect ratio and fits it within the item.
- Fill — Maintains the image's aspect ratio and fills the entire item. Overflowing parts are clipped.
- Stretch — Stretches the image to match the item's size. The aspect ratio is not preserved.
-
Scale
Specify the image scale factor. 1.0 is the original size. -
Offset X / Y
Shift the display position of the image. -
Opacity
Specify the opacity of the image. 1.0 is fully opaque, 0.0 is fully transparent. -
Image Layer
Specify the stacking order of the image. - Behind Background — The image is displayed behind the background color. Making the background color semi-transparent allows the image to show through.
- Above Background — The image is displayed above the background color and behind the text.
- Above Content — The image is displayed above content such as text. Useful for icon overlays.
Location
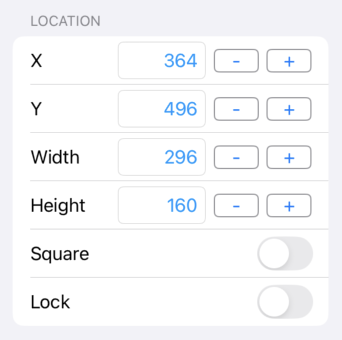
The location allows you to specify the item’s location and size.- X: X-coordinate for item placement.
- Y: Y-coordinate for item placement.
- Width: Width for the item.
- Height: Height for the item.
- Square: When turned on, the width and height are the same.
- Lock: When it is turned on, the position is locked and cannot be moved.
Multi Selection
You can select and operate on multiple items at the same time.Selection Modes
There are two selection modes.
-
Normal Mode
Tapping an item selects only that item (clears any previous selection). -
Multi-Selection Mode
Double-tap an item to enter multi-selection mode. In this mode, tapping an item adds it to the selection, and tapping an already selected item removes it from the selection.
A "Multi-selection" badge appears in the upper right of the Object Inspector while in this mode. -
Exit Mode
Tap an empty area of the page to exit multi-selection mode and return to normal mode. -
Select All
Press Cmd+A on the keyboard to select all items on the current page. This automatically enters multi-selection mode.
Operations with Multiple Selection
-
Move
Dragging a selected item moves all selected items together. -
Lock
Toggling the lock in the inspector applies to all selected items. -
Group
Press the "Group" button in the toolbar to group the selected items together. -
Ungroup
Press the "Ungroup" button in the toolbar to ungroup items. -
Copy / Delete
Copy and delete operations apply to all selected items.
Group Selection
Tapping a grouped item selects the entire group. To select individual items within a group, double-tap an item to enter group editing mode.

Group / Ungroup buttons