Matrix
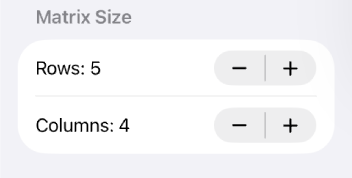
A matrix automatically generates multiple items from a template and arranges them in a grid layout. It is useful for creating a large number of items with the same pattern. When the template is edited, changes are reflected in all cells. By setting device offsets, device addresses can be automatically incremented for each cell.Matrix Size
-
Rows
Specify the number of rows in the grid. -
Columns
Specify the number of columns in the grid.
Template Editing
The template defines the content of each cell in the matrix. When the template is changed, the changes are reflected in all cells.
-
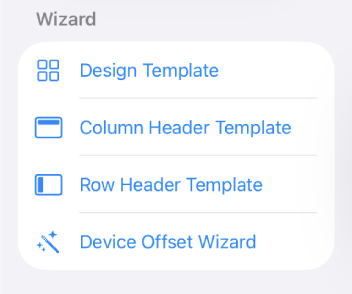
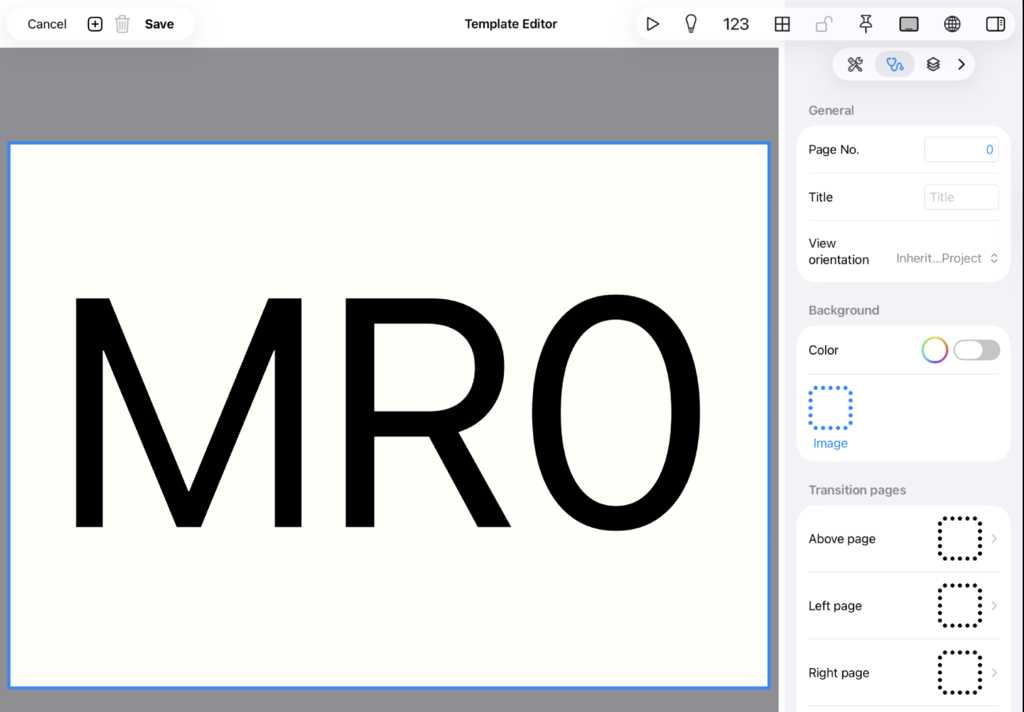
Design Template
Press the "Design Template" button to open the template editing screen. In this screen, you can edit the content of a single cell. Place items such as labels and buttons in the template, and configure devices and titles. -
Save Template
When editing is complete, press the "Save" button to apply the template. Saving will regenerate all cells in the matrix.
Headers
-
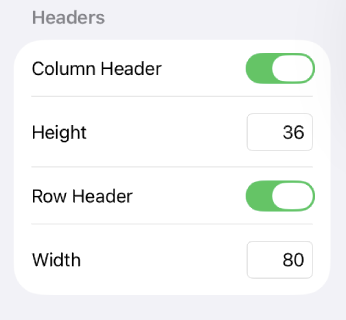
Column Header
Displays column headers at the top of the grid. -
Height
Specify the height of the column header. -
Row Header
Displays row headers on the left side of the grid. -
Width
Specify the width of the row header.
Device Offset
By setting device offsets, device addresses and title texts can be automatically incremented based on the cell position (row and column). Press the "Device Offset" button to open the rule-based device offset configuration wizard.
Rule Structure
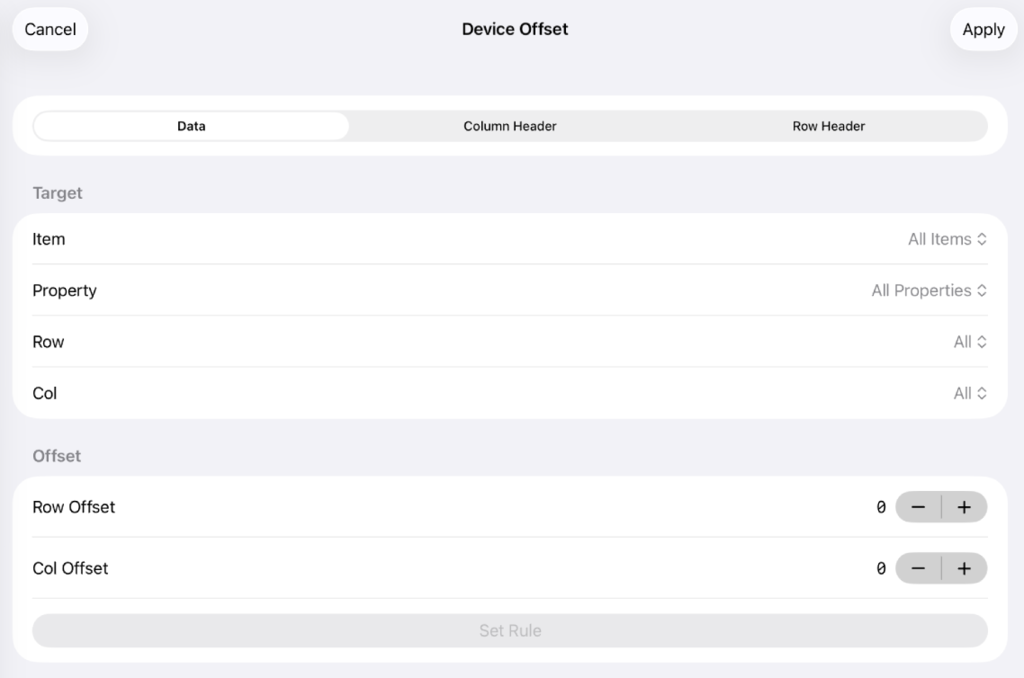
Each rule specifies its target using the following four conditions:
-
Item
Select the template item to apply the rule to. Selecting "All Items" targets all items in the template. Select a specific item to set offsets for that item only. -
Property
Select the device property to apply the rule to. Selecting "All Properties" targets all device properties of the target item. Available properties include (varies by item type): - device — Device name
- visible — Visibility device
- label — Label device
- lamp — Lamp device
- switch — Switch device
- interlock — Interlock device
- editable — Editable device
- max_value — Max value device
- min_value — Min value device
- Title — Title text
- Alt Title — Alternative title text
-
Row
Specify which row to apply the rule to. Selecting "All" targets all rows. Specifying a row number applies the rule only to that row. -
Col
Specify which column to apply the rule to. Selecting "All" targets all columns. Specifying a column number applies the rule only to that column.
Offset Values
-
Normal mode (when Row or Col is set to "All")
Two values are set: Row Offset and Column Offset. The offset for each cell is calculated as:
offset = row number × Row Offset + column number × Col Offset -
Cell-specific mode (when both Row and Col are set to specific numbers)
Only a single offset value is set. The specified value is applied directly to that cell.
Calculation Examples
If the template contains an item with device D100 in a 3-row, 4-column matrix:
Example 1: Row Offset=10, Col Offset=1
| Col 0 | Col 1 | Col 2 | Col 3 | |
|---|---|---|---|---|
| Row 0 | D100 | D101 | D102 | D103 |
| Row 1 | D110 | D111 | D112 | D113 |
| Row 2 | D120 | D121 | D122 | D123 |
Example 2: Row Offset=20, Col Offset=2
| Col 0 | Col 1 | Col 2 | Col 3 | |
|---|---|---|---|---|
| Row 0 | D100 | D102 | D104 | D106 |
| Row 1 | D120 | D122 | D124 | D126 |
| Row 2 | D140 | D142 | D144 | D146 |
Rule Priority
When multiple rules exist, more specific rules take priority. The specificity scoring is as follows:
- Cell-specific (both row and column specified): Highest priority
- Row-only specified: High priority
- Column-only specified: Medium priority
- All cells: Low priority
- Specific item selection takes priority over "All Items"
- Specific property selection takes priority over "All Properties"
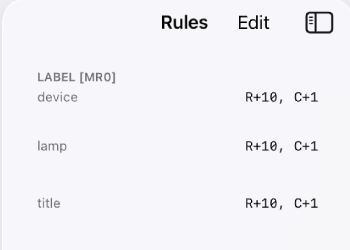
When multiple rules have the same score, the one higher in the rule list takes priority. Rules can be reordered by dragging.
Title Text Offset
In addition to device addresses, numbers and letters in titles and alternative titles can be automatically incremented. The following number formats in text are auto-detected:
- Half-width digits — e.g., "CH1" → "CH2" → "CH3"
- Full-width digits — e.g., "1号機" → "2号機" → "3号機"
- Kanji numerals — e.g., "第一" → "第二" → "第三"
- Half-width letters — e.g., "Line A" → "Line B" → "Line C"
- Full-width letters — e.g., "ラインA" → "ラインB" → "ラインC"
Target Switching
When headers are enabled, you can switch the rule target using the segment control at the top of the wizard:
- Data — Data cells (main grid area)
- Column Header — Column headers
- Row Header — Row headers
Each target has its own independent set of rules.
Preview
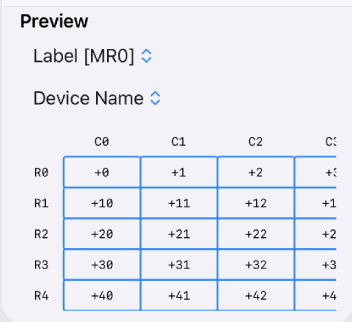
A preview grid is displayed at the bottom-left of the wizard screen. Select an item and property to see the offset values applied to each cell in real time. Editing a rule is immediately reflected in the preview.
Condition
Rules
Preview
Display
Borders
-
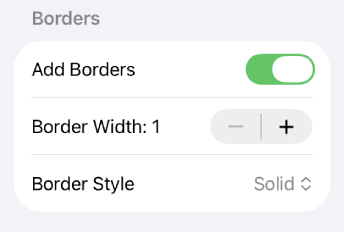
Add Borders
Turn on to display borders between cells. -
Border Width
Specify the thickness of the border. -
Border Style
Select the border style. - Solid
- Dashed
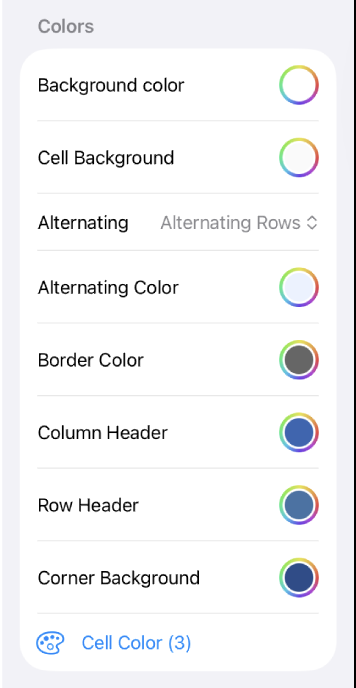
Colors
-
Background Color
Specify the overall background color of the matrix including headers. -
Cell Background
Specify the background color of data cells. -
Alternating
Set alternating colors for rows or columns. Select whether to alternate by row or by column. -
Alternating Color
Specify the background color for even rows (or columns). -
Border Color
Specify the color of the border. -
Column Header
Specify the background color of column headers. -
Row Header
Specify the background color of row headers. -
Corner Background
Specify the background color of the intersection area (top-left corner) between row and column headers. -
Cell Color
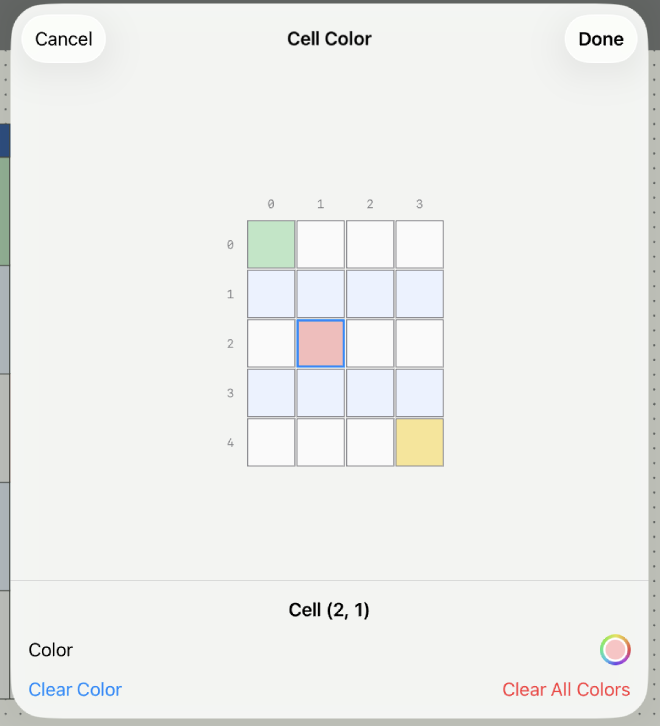
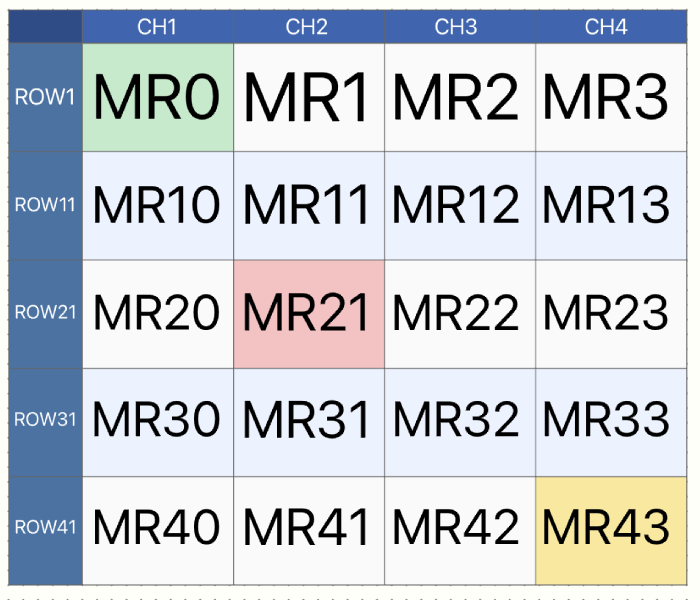
Override the background color of specific cells individually. Press the "Cell Color" button to open the cell color wizard. Select a cell from the grid with row and column numbers, then use the color picker to set the color. Press "Clear Color" to remove the color for the selected cell, or "Clear All Colors" to remove all cell colors at once.
Color priority: Cell color > Alternating color > Cell background